Photo Tutorial
Printing photos can sometimes feel like it takes forever. Today, Heather Joyce is here to help make the process a little easier for you!!
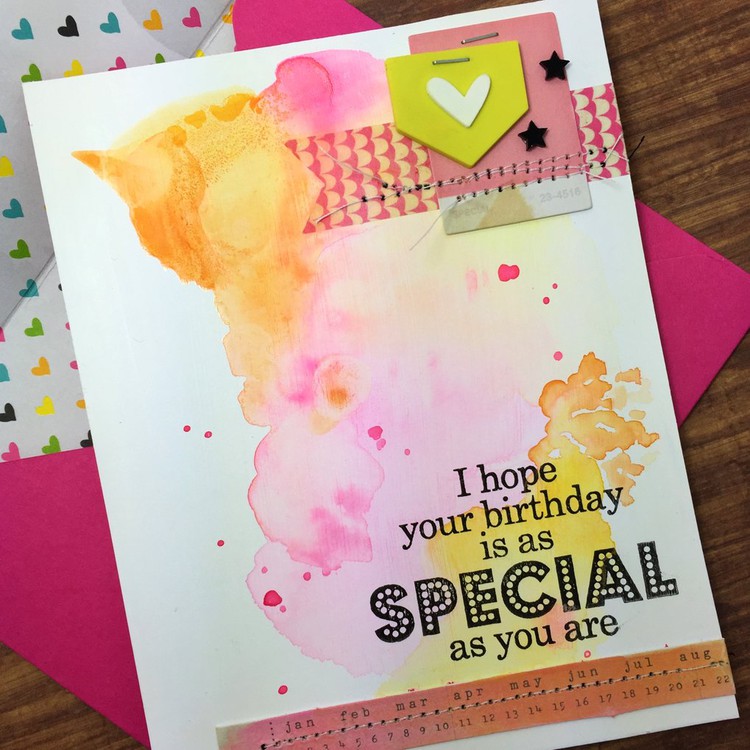
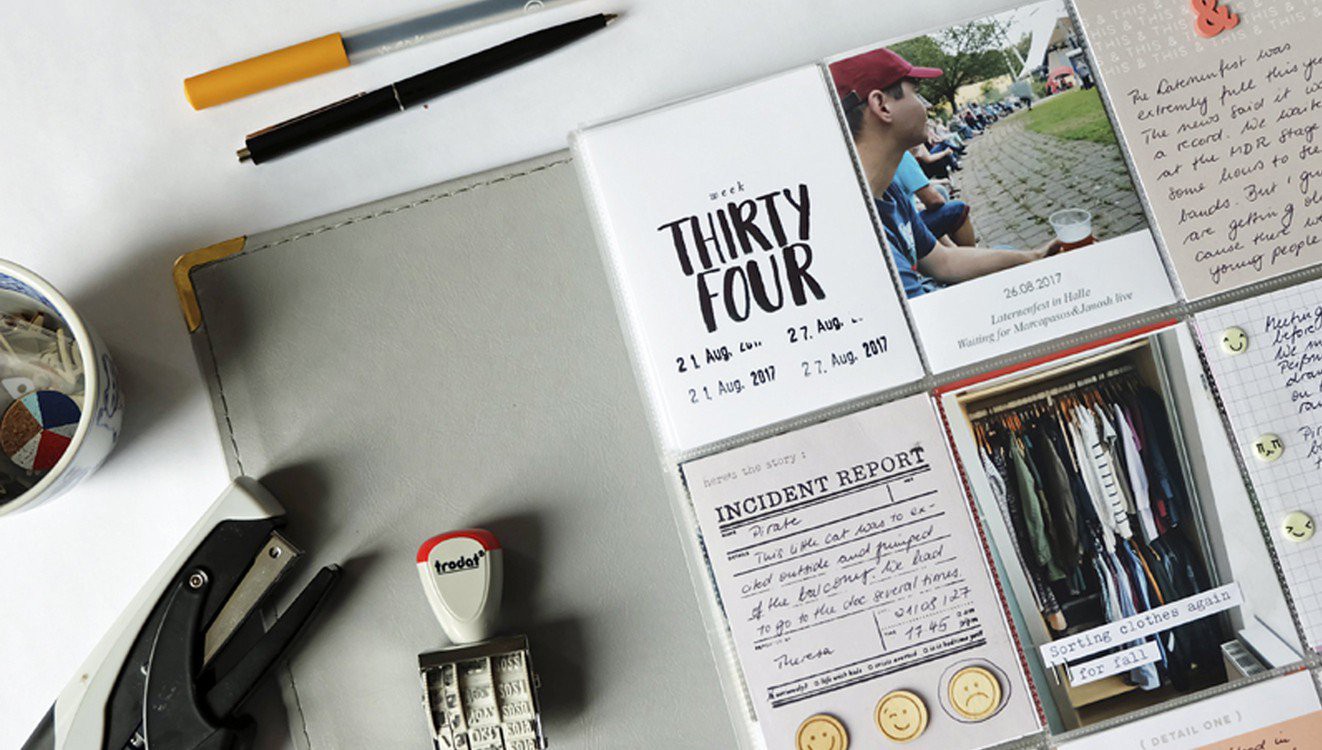
I love working with pocket pages. It feels to take a lot of the guess work out of where things go and I’m able to get big events scrapbooked in no time. Printing 4x6 photos is a breeze, but what about those 3x4 spots? Do they just have to be reserved for journal cards? Not at all! It’s easy to combine two photos to fit into a 3x4 space and print them on one 4x6 photo.
I started by opening photoshop and creating a new document. I set the dimensions to 6 inches by 4 inches and 300 dpi.

To make things a little easier, I made sure I had rulers turned on then added a guide at the 3 inch mark. Click in the ruler area then drag away from it to give yourself a guide to drop.

Then I dropped my first photo in the canvas, sized it and moved it right up against the line guide. It changed the line color to let me know it was right up in the center of the page.

I dropped in the second image, sized it then moved it up agains the line to fill the space. There is an option to snap items (under the view menu in the top) that will help you with this process as well.

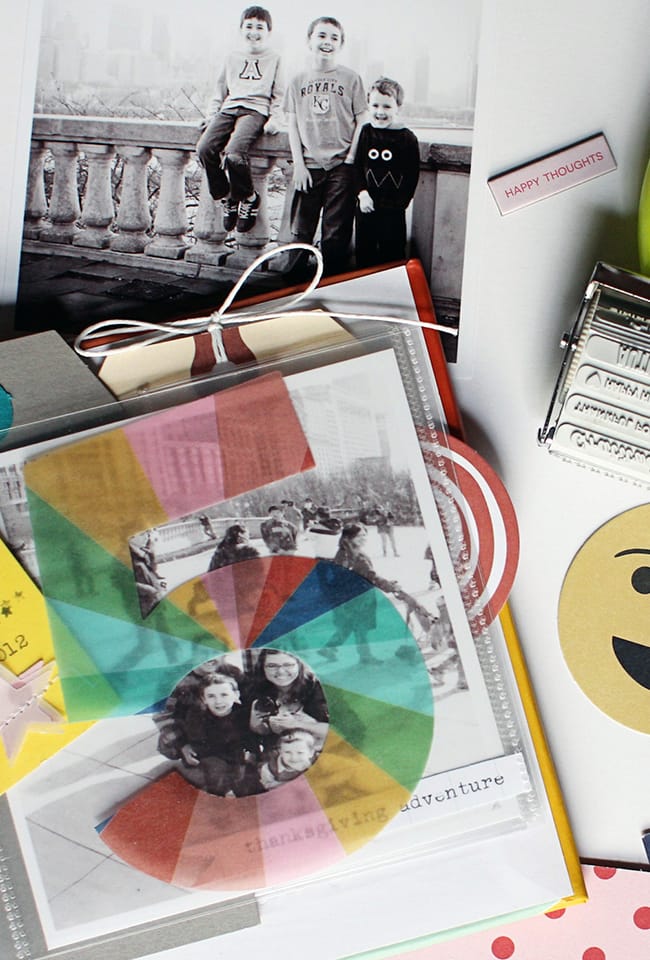
Once this was done, I saved it, printed it, and trimmed it to be the 2 3x4 photos I was wanting. They slid perfectly into the pockets and gave me a chance to add some extra photos.

There are so many ways to do any one thing in an application, I’m always excited when someone can teach me a shortcut to make a process a touch faster. Leave a comment and let me know if you’ve got a faster way to get two images onto a spread. If you’re not a Photoshop user, be sure to check out my upcoming class where I’ll dive into other applications and show you how to create even more advanced collages. I can’t wait to see you there!

.jpg)


Sign in or sign up to comment.
0 comments