
Kit Building and Stash Busting | 01


My First Kit
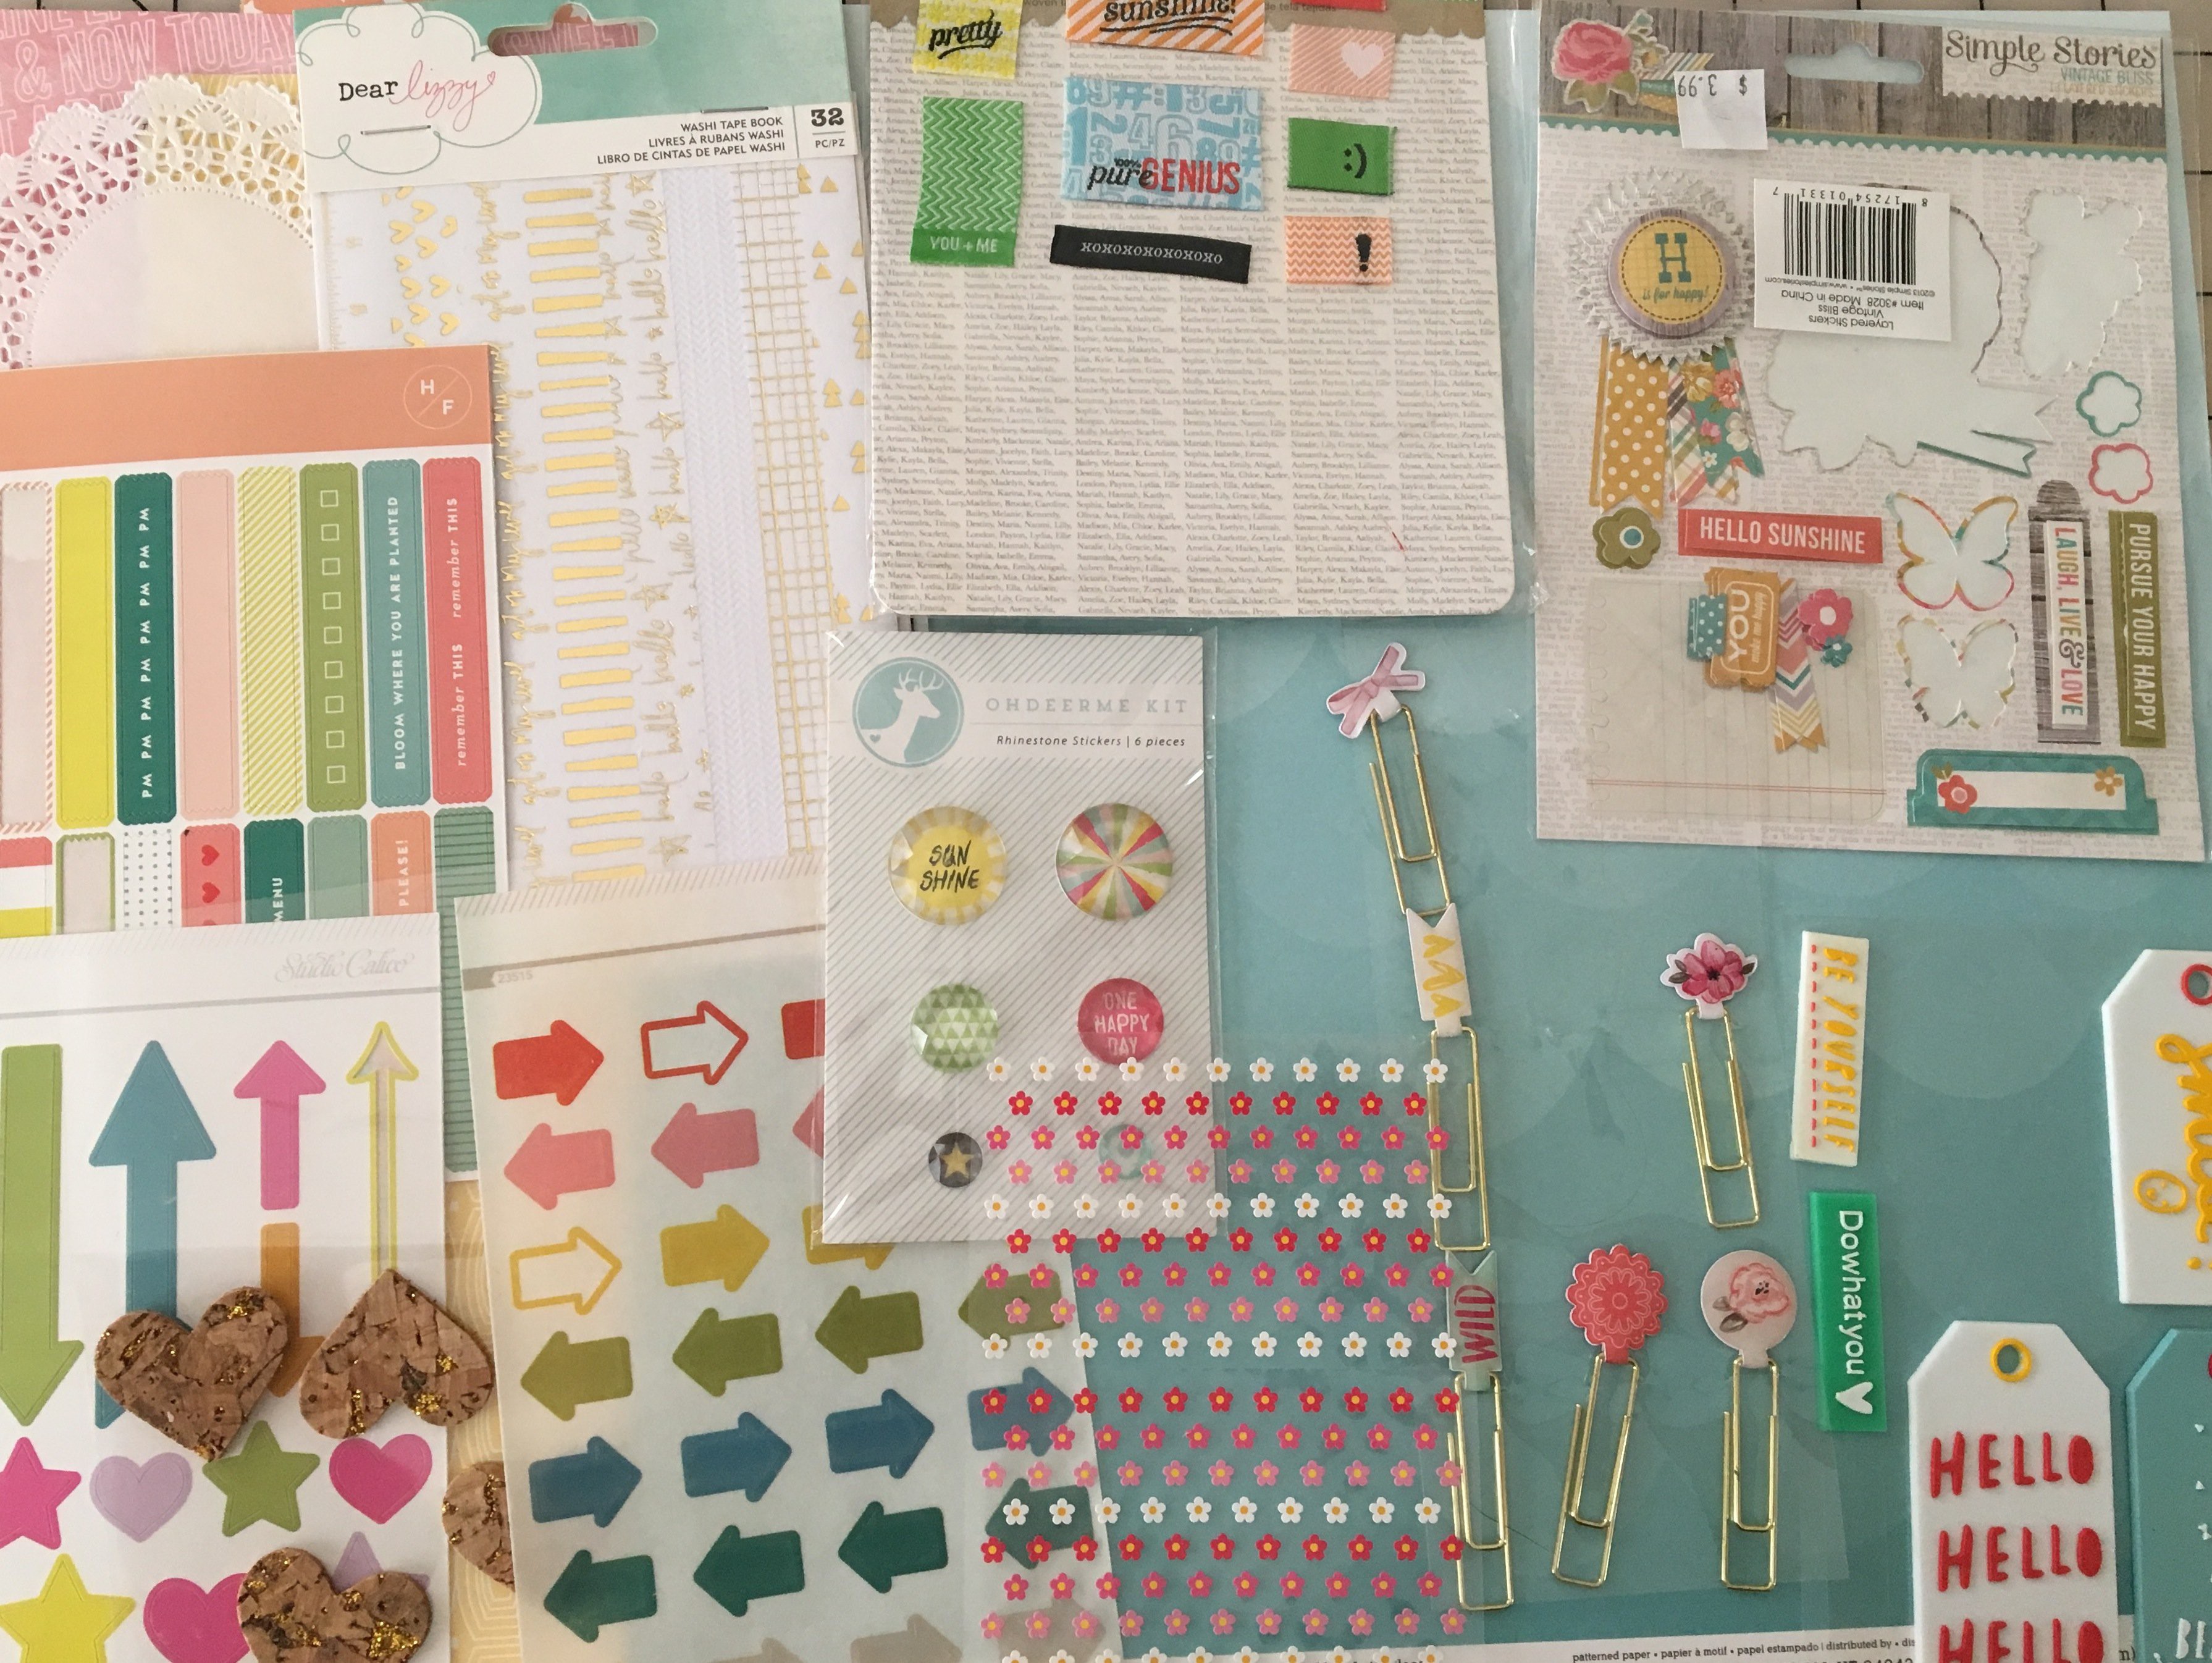
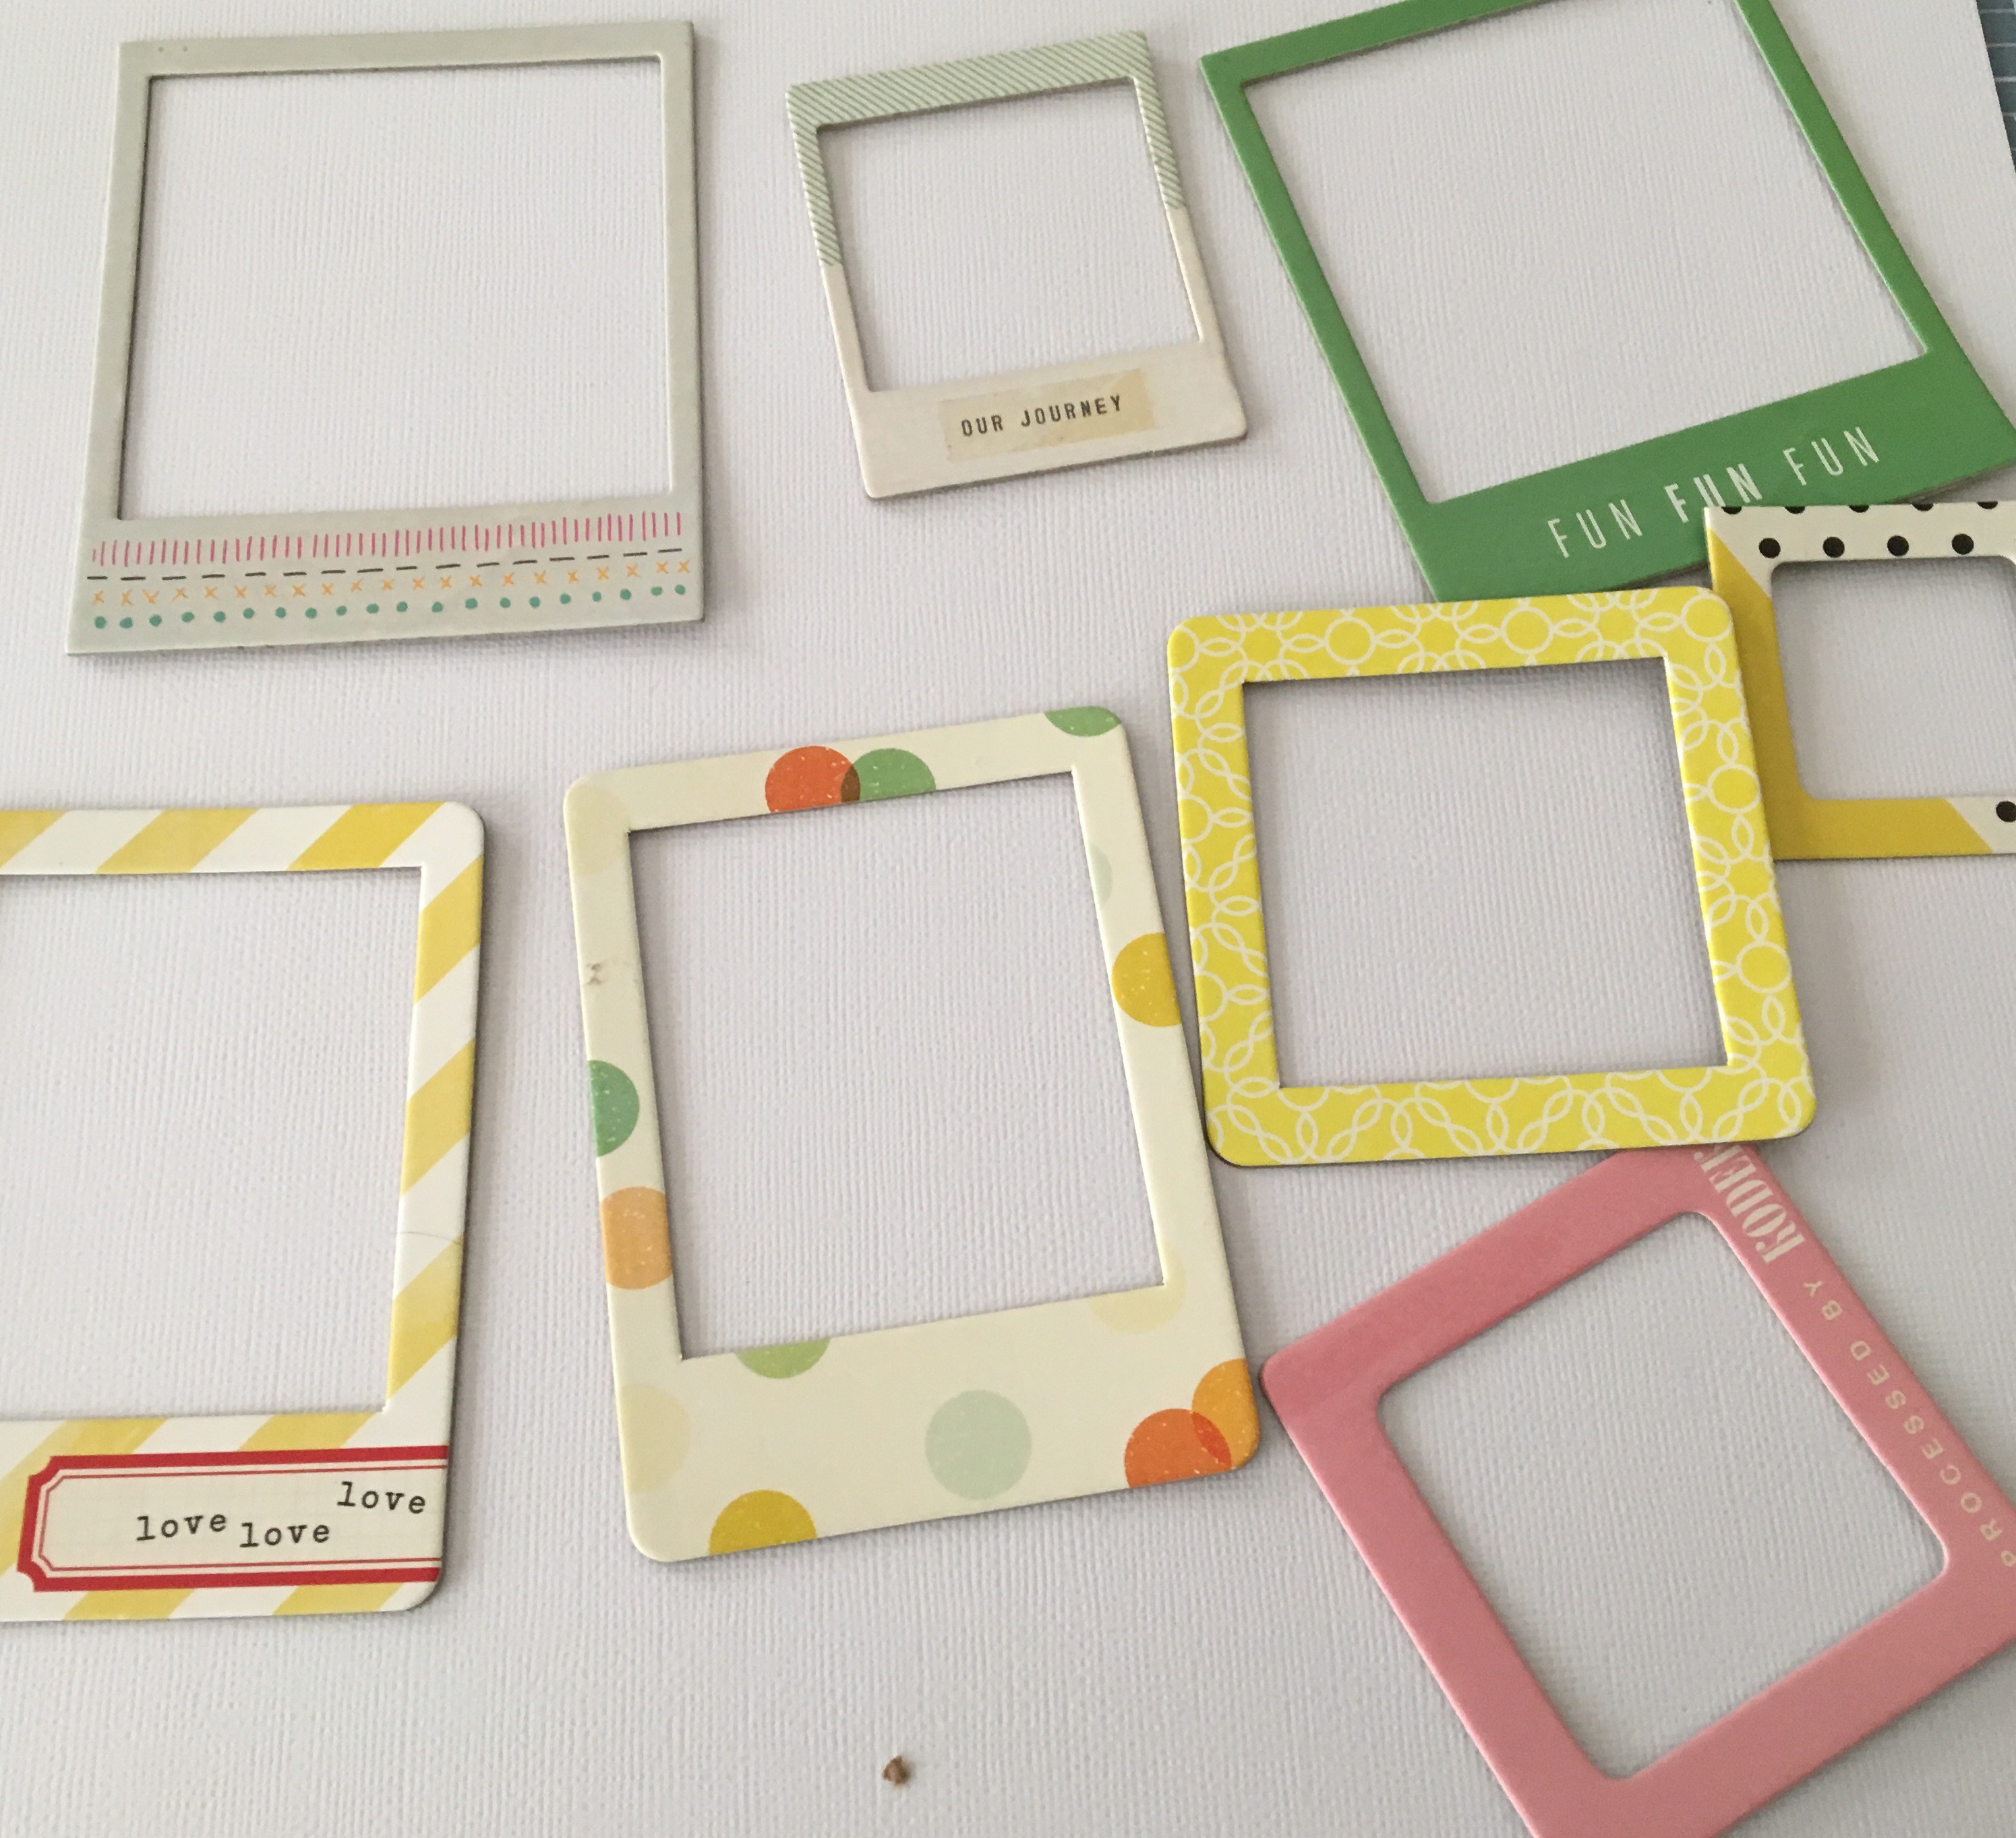
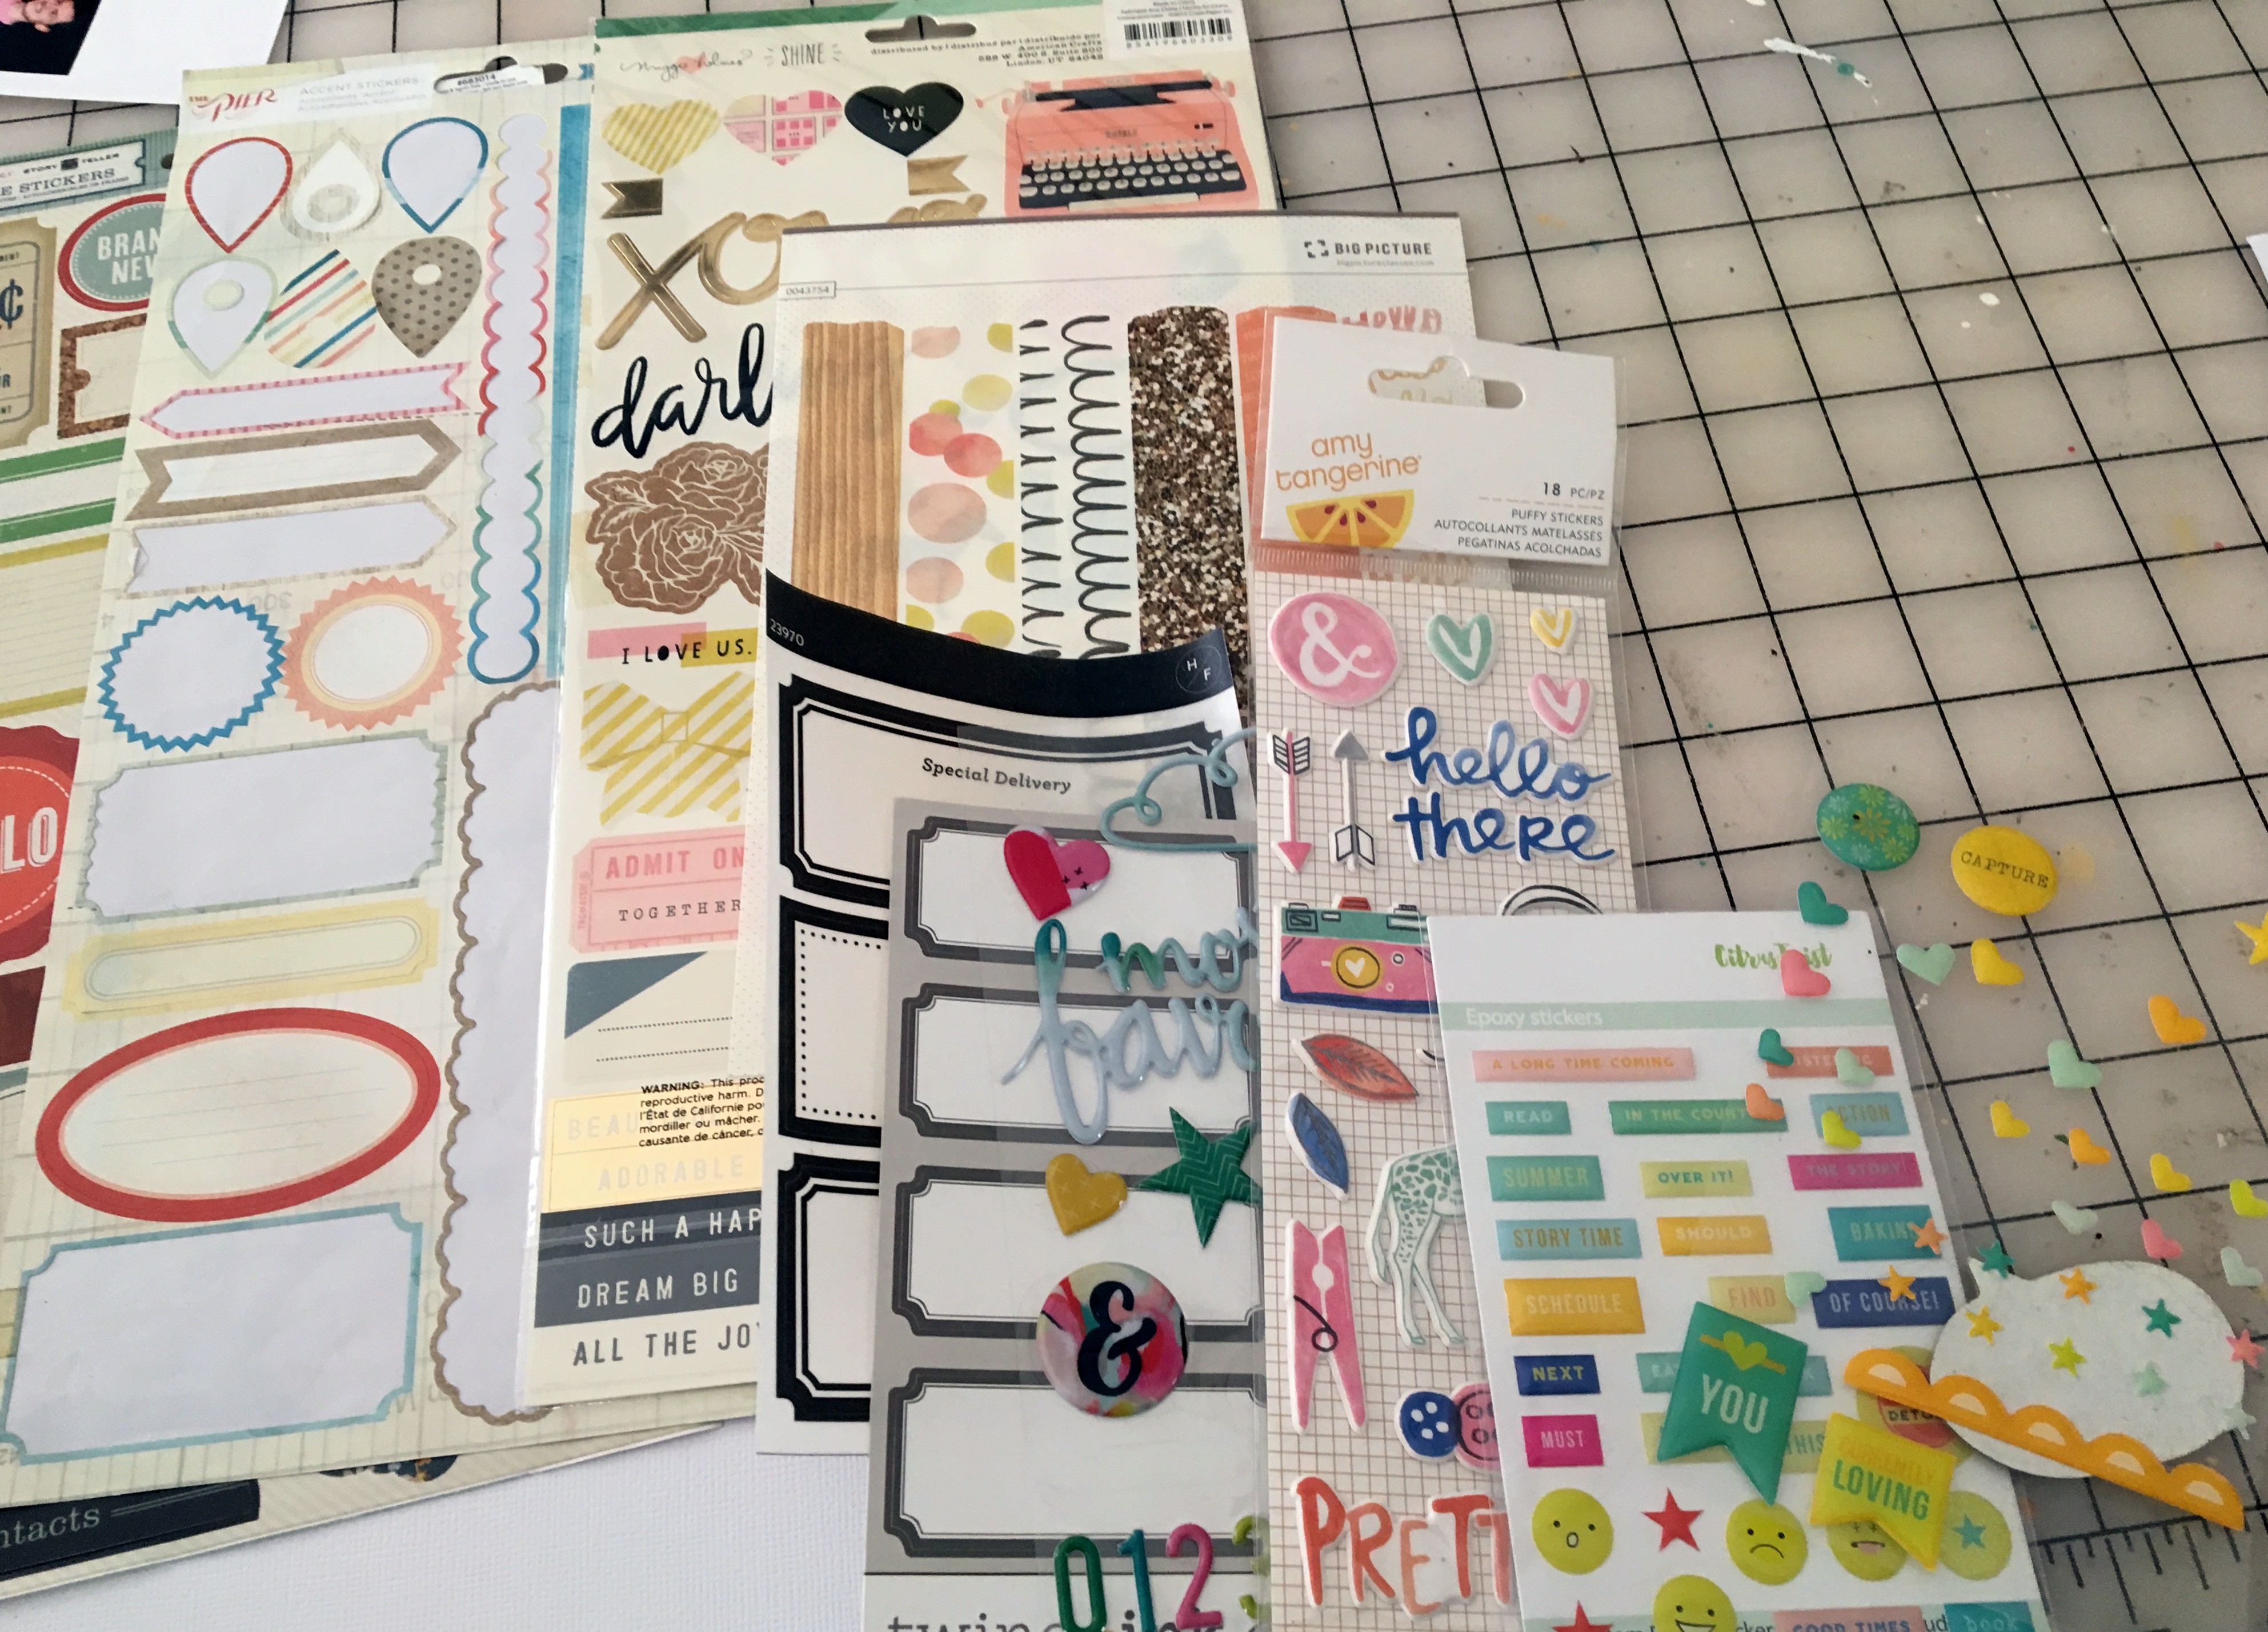
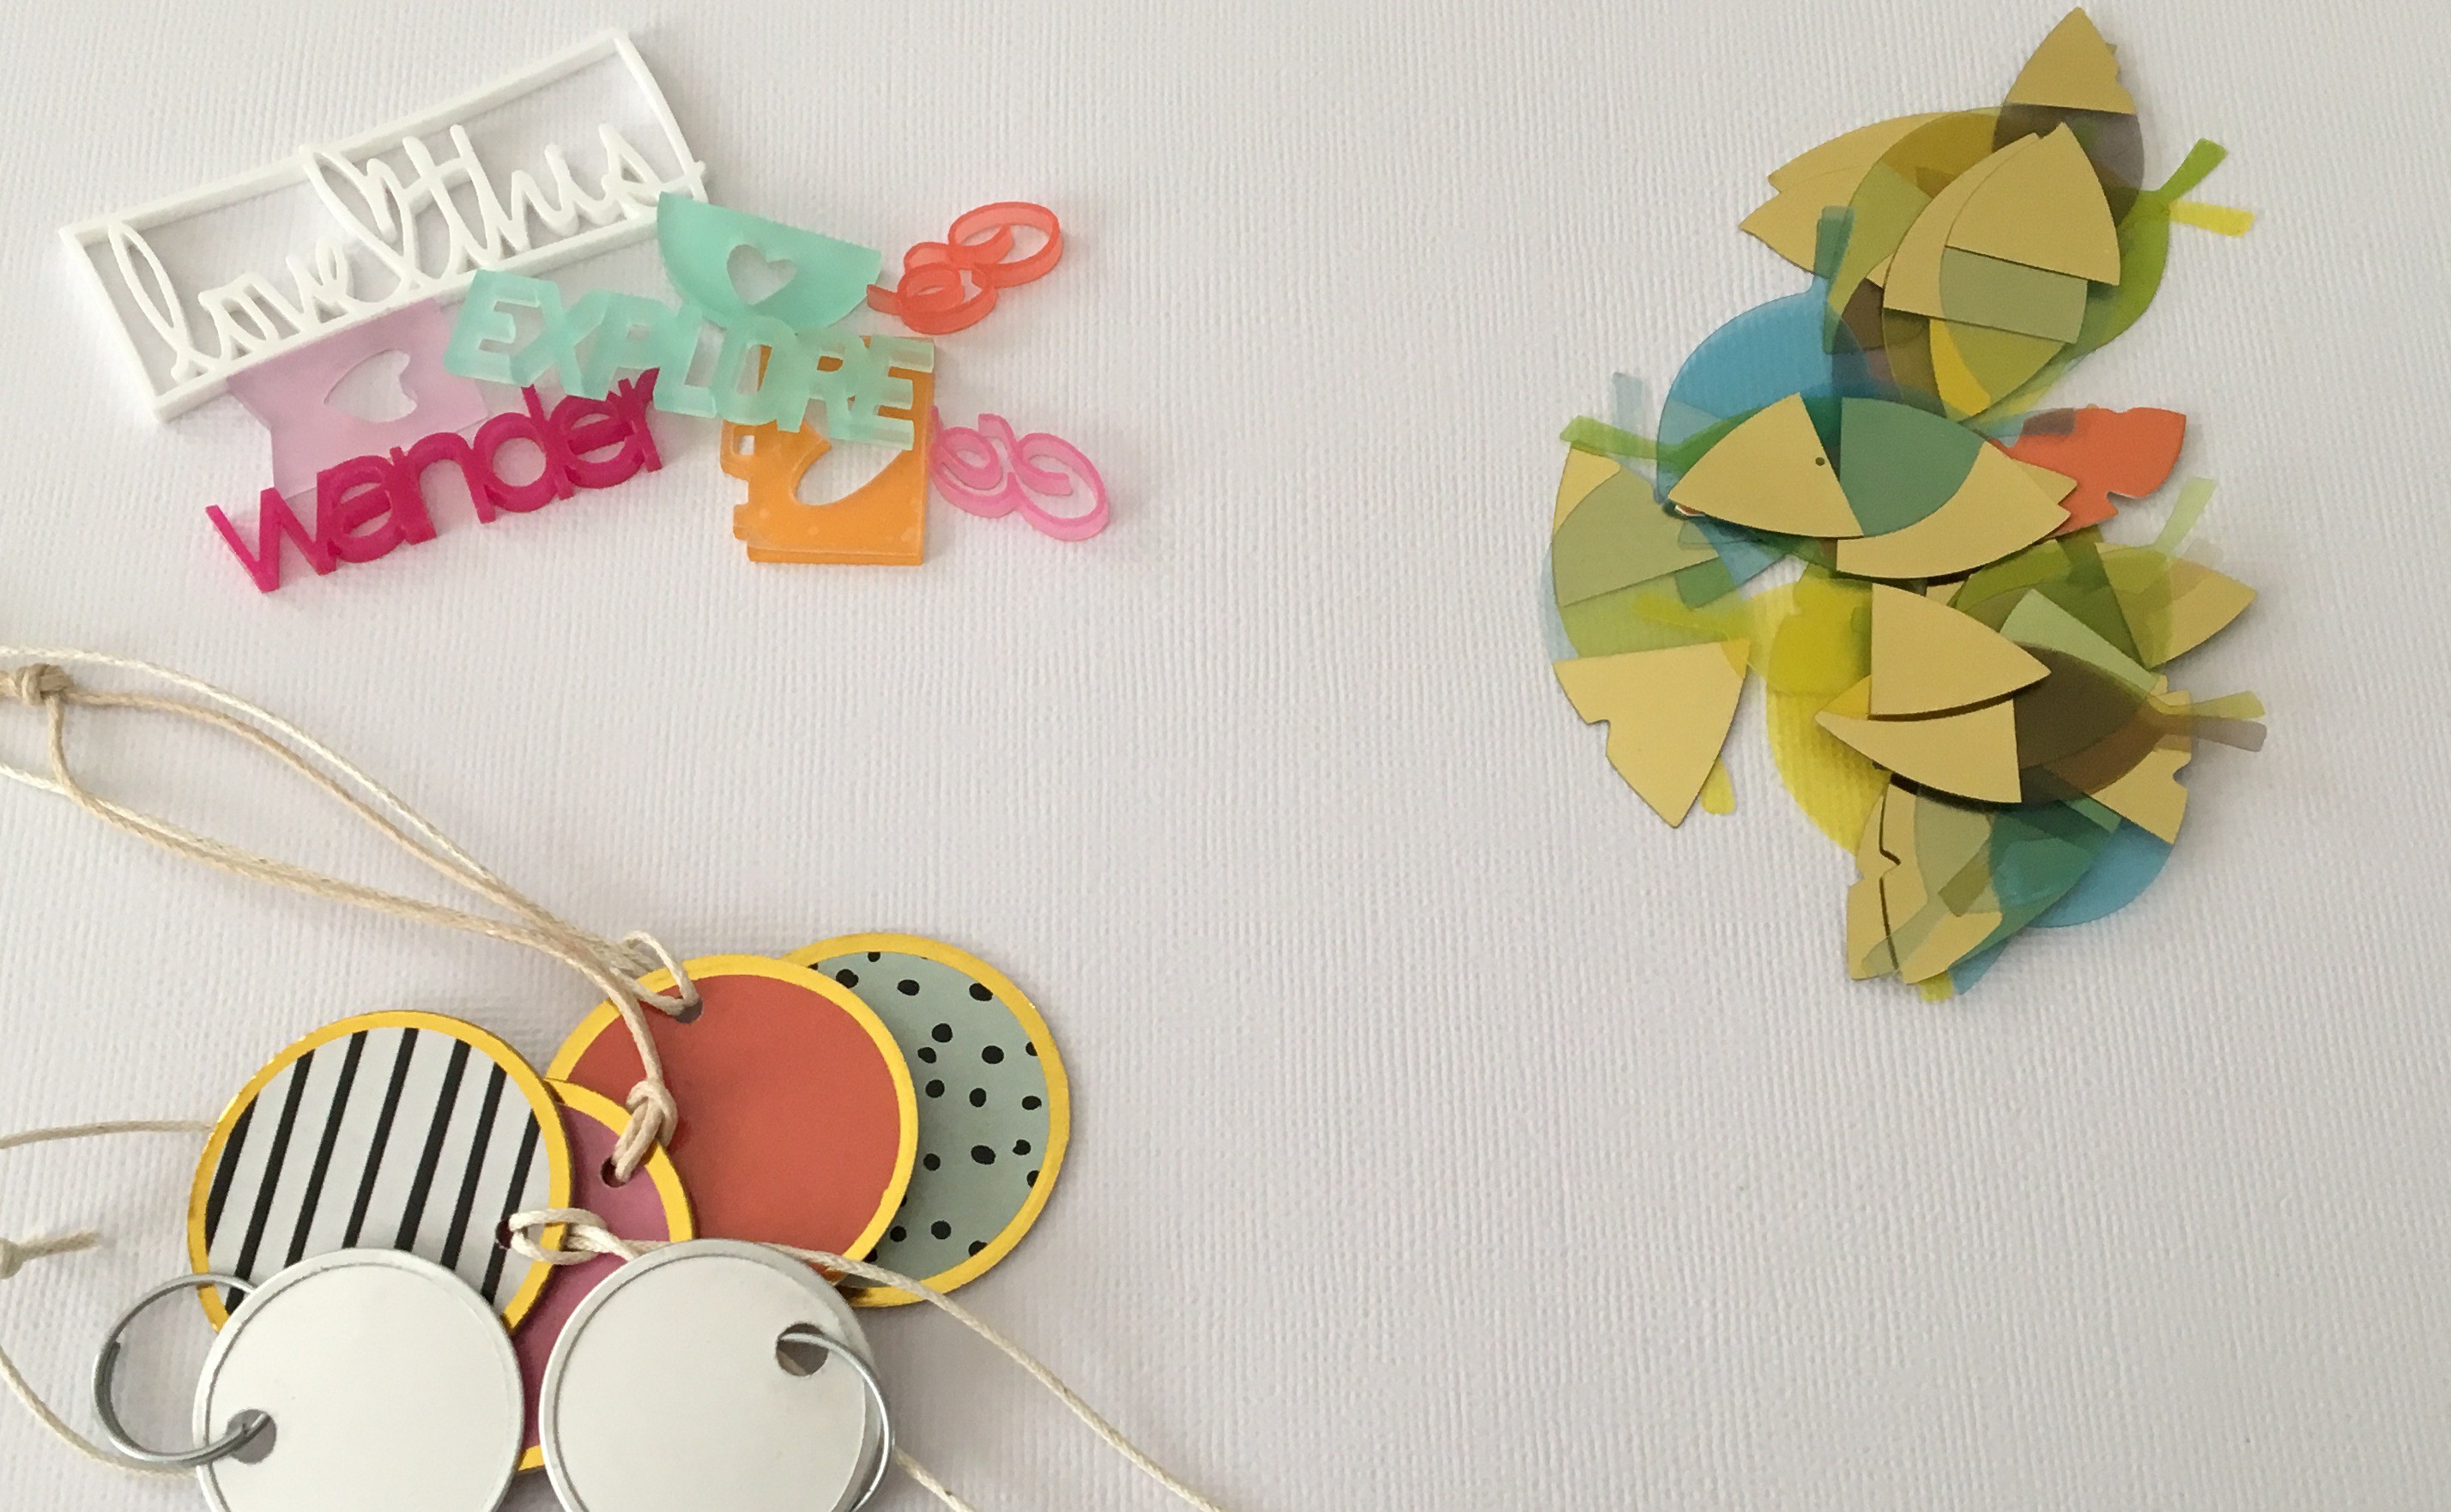
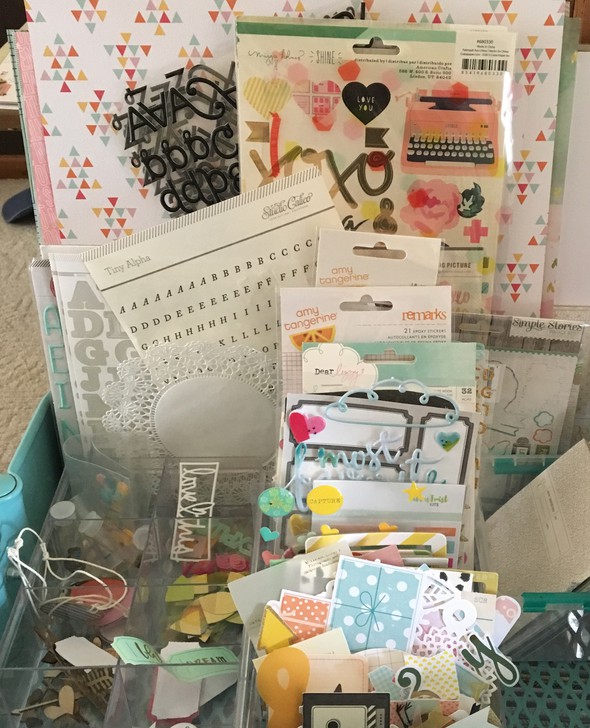
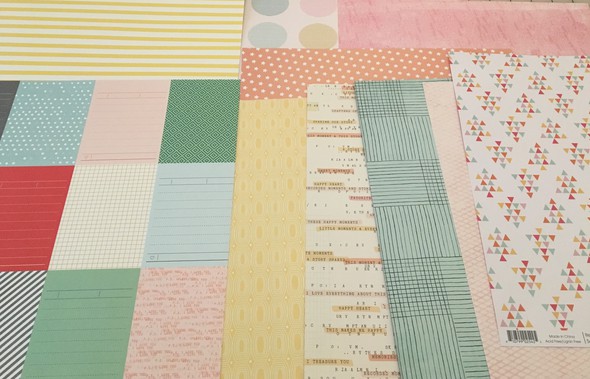
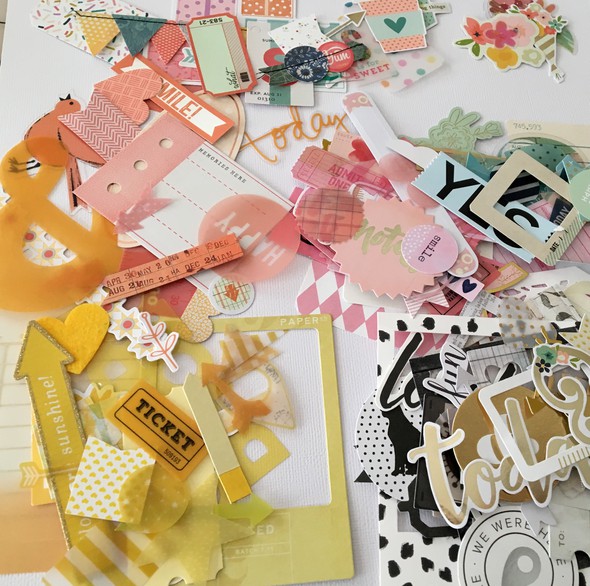
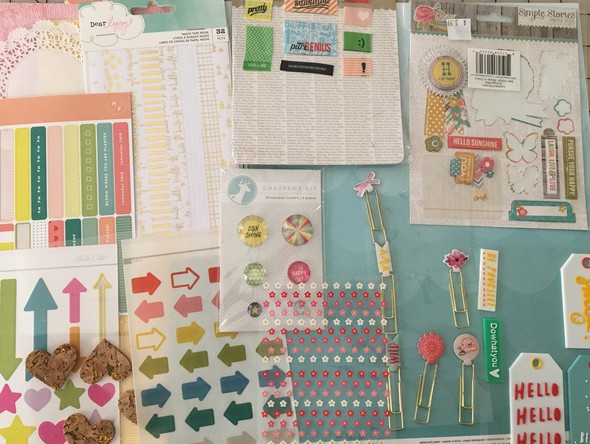
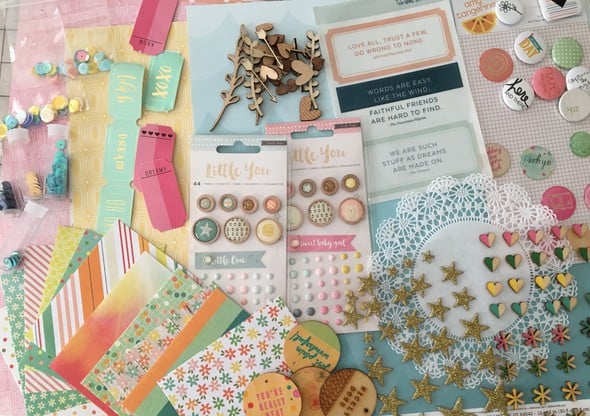
I started with a great piece of patterned paper and built my kit from there. Because I am that person who always bought all the add ons - even when studio calico would have 4 or more, I picked lots of papers and embellishments. (Plus I couldn't narrow it down) I didn't choose a stamp since I rarely stamp and I substituted neutral patterned papers for colored cardstock. I sort die cuts by color instead of by package so I picked some that matched. Basically I filled the top of my Raskog (where I keep whatever kit I am working from). I tried to get lots of layering pieces and little bits and textures because that's how I usually put layouts together.

2 Comments
My First Kit
I started with a great piece of patterned paper and built my kit from there. Because I am that person who always bought all the add ons - even when studio calico would have 4 or more, I picked lots of papers and embellishments. (Plus I couldn't narrow it down) I didn't choose a stamp since I rarely stamp and I substituted neutral patterned papers for colored cardstock. I sort die cuts by color instead of by package so I picked some that matched. Basically I filled the top of my Raskog (where I keep whatever kit I am working from). I tried to get lots of layering pieces and little bits and textures because that's how I usually put layouts together.


WOW! That's quite the kit!! I love how well everything coordinates though, so you'll have no trouble pulling together some projects!
There's definitely some old favourites of mine in here too. Those Basic Grey tags, and the Studio Calico gold-tipped leaves? Love them!!
Sign in or sign up to comment.
Lovely kit.
Sign in or sign up to comment.